
While you can rely on dried yeast to provide a good raising agent for baking, fresh yeast does make the end result tastier, and it also helps the consistency of your bake.
It’s also ideal for those recipes which need a long proving time, as the bacteria stays active for longer than dried yeast.
However, fresh yeast can be tricky to get hold of, and it’s probably not something that goes on your weekly shopping list, unless you make a lot of things from scratch.
So, more often than not, you’ll find yourself without fresh yeast when that’s exactly what a recipe calls for.
Even when you do buy it fresh, it comes in a huge block, filled with moisture which shortens the shelf life, and hardly any recipes require so much yeast at once.
In order to make it worthwhile, you’d have to make a lot of yeast-based food, but this presents its own problem, and not everyone has the time or the inclination to do so.
The problem with fresh yeast is that it simply doesn’t last. Once it’s exposed to air, it needs to be kept in the fridge, where it will last a maximum of 3 days.
It also loses its potency when kept for too long. But what if you could freeze it?
Read on to discover if freezing fresh yeast for later is a good idea, how long you can get away with keeping it in the freezer, how to tell if it’s still viable once defrosted, and what to do with the defrosted yeast.
Is Freezing Fresh Yeast A Good Idea?
Fresh yeast is made up of a fungus called Saccharomyces cerevisiae, which is live as you might imagine, and needs certain conditions to stay that way.
You need to feed it with sugar and starch, keep it somewhere warm enough that the fungi will thrive. You also need to keep it ‘hydrated’, and in return, it converts both the starch and the sugar you give it into alcohol and carbon dioxide.
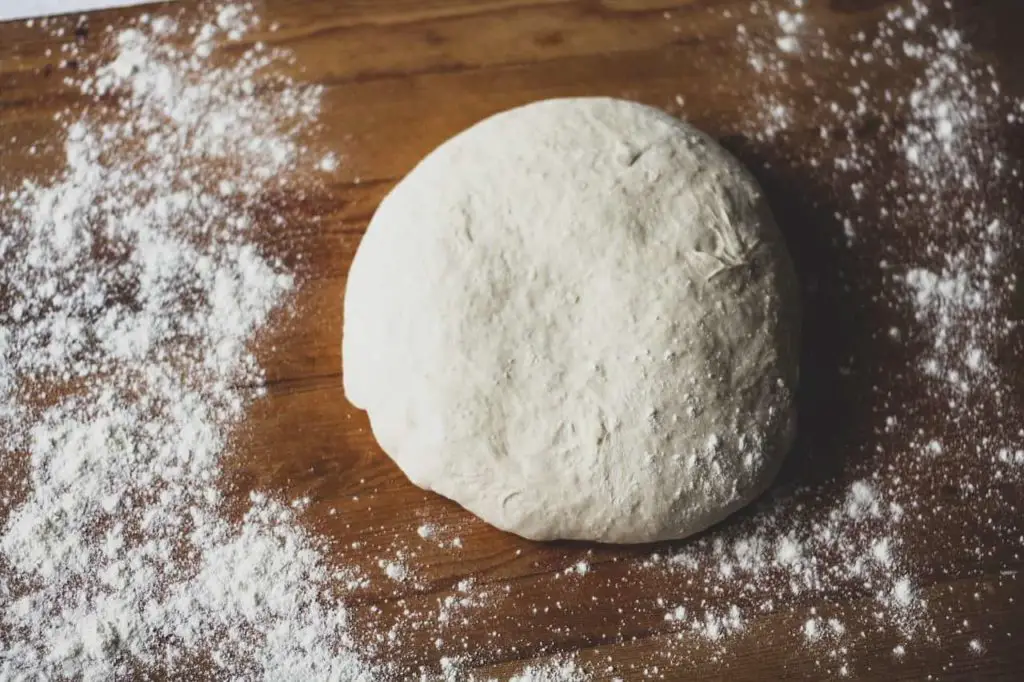
It’s the gas that allows bread, cakes and other goodies to rise, as it can’t get out of the dough, it forces it to increase in size (see also Freezing Sourdough Starter).
Some people believe that freezing yeast kills it completely, wasting time and money, but this isn’t true.
Some cells may die off in the cold temperatures of the freezer, but it’s worth knowing that it takes roughly twenty billion cells of yeast in order for the yeast to make up a single gram in weight.
Most of the cells will go dormant until you bring it back up to room temperature.
You can safely freeze fresh yeast for later, as long as you make sure to seal it properly. You can also check if it’s viable once defrosted, so you know before you add it to any baking mix.
Here’s how you freeze it.
The Best Way To Freeze Fresh Yeast
When it comes to freezing fresh yeast, you’re better off portioning it before you freeze it, as this will save time struggling to try and cut chunks of frozen yeast.
Cut it as you need, dividing it up into what you’d usually use. If you’re unsure, divide it up into equal parts of what the recipe wants. Or, make the blocks bigger, so you can use more.
Completely cover each portion of fresh yeast in a protective layer of foil, or plastic wrap. This step is so simple, and it will stop a lot of moisture from evaporating from the yeast, keeping it as fresh as possible.
Put the wrapped yeast into a rigid airtight container, or a resealable freezer bag. This gives an extra layer of protection, and helps keep the yeast all in one place, ready for when you want it.
If you’re worried about accidentally crushing the yeast by putting something heavy on top of it, put the wrapped yeast into a rigid container which won’t give way under pressure.
Seal the container, label it, and freeze it. Put it somewhere in the freezer where you can see it, so you are less likely to forget about it.
How Long You Can Get Away With Leaving Fresh Yeast In The Freezer?
Fresh yeast will last at least 3 months in the freezer. It will last longer than this, but it will gradually degrade the longer you leave it in the freezer.
Aim to use it within three months, as it should still be at its best, getting the most rise out of it as possible.
Because it takes a long time for the quality to start degrading, there’s not a significant enough difference between yeast you’ve frozen for two months, and yeast you’ve frozen for four months for it to matter that much. At worst, it will rise slightly less than normal.
If you’re unsure, once you’ve defrosted it, there is a way of telling if the yeast is still usable before you incorporate it into a recipe, but we’ll get to that.
How To Thaw Frozen Fresh Yeast
Take out as much yeast from the freezer as you need, unwrap the foil and cling wrap immediately, and put the yeast into the bowl where you’ll combine the rest of the ingredients.
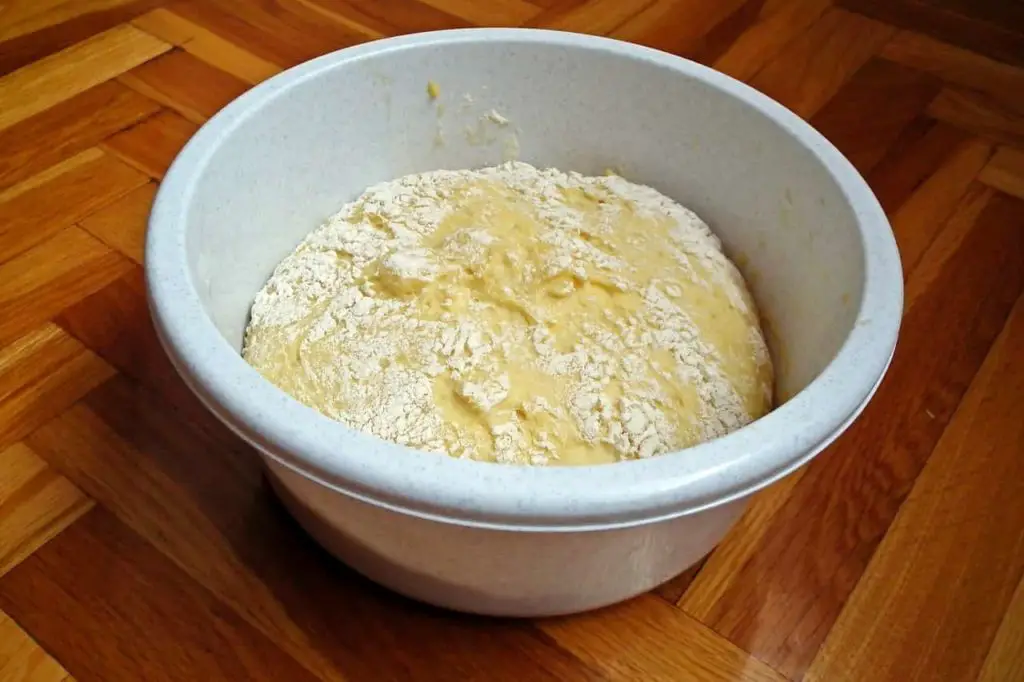
It needs to be a fairly large bowl so that you can allow the mixture to rise as it should. While it defrosts, cover the bowl with a tea towel, plastic wrap, or a shower cap.
Whatever you have to hand will do.
You’ll notice that as fresh yeast defrosts, it can lose all of its structure, becoming runny, or nearly all liquid. This is normal. Placing it in the bowl you’ll make the dough in makes it much easier.
Now you’ve prepared the yeast for defrosting, there are several ways you can defrost it.
The slowest way to thaw the fresh yeast is to put the bowl into the fridge, and leave it overnight. This method is perfect if you’re not sure exactly when you’ll want to use it, but you know it’ll be within the next day.
Defrosting Fresh Yeast In A Hurry
If you don’t have that kind of time, you can crumble the frozen yeast into the bowl instead of letting it sit and melt at its own pace. This takes some effort, and you can use a fork to make it quicker.
This rapidly speeds up the defrosting time. You can then either put it in the fridge for an hour and a half, or you can leave the bowl out on the counter for about half an hour.
Whichever option you choose, ensure to use the yeast and carry out the rest of the recipe the moment it has fully defrosted.
Once it’s soft enough that you can combine it with the rest of the ingredients, it’s ready to use.
It’s also worth pointing out that how gooey it goes after it defrosts varies each time, as this is live fungi. While the liquid yeast looks unappealing and a little useless, it’s perfectly fine to use.
You may notice that it will rise slightly less than normal, but that will be the only difference.
How To Make Sure Defrosted Fresh Yeast Is Still Viable
It’s always worth checking if your defrosted fresh yeast is still alive. Nine times out of ten, it will be absolutely fine, but you want to know this before you add the rest of the ingredients.
Luckily, you can check that the yeast is still worth using by proofing it, and it won’t take long.
Make sure you do this in a warmish room, somewhere between 70°F and 80°F, otherwise the yeast will be too cold to do anything. If the yeast is still extremely cold, it might be a bit ‘sleepy’, and slower to make the mixture rise.
Assuming you’ve already put the defrosted yeast into a large bowl, stir a teaspoon of sugar and half a cup of barely warm water, milk, or whatever liquid the recipe calls for into the bowl.
Make sure the sugar has dissolved, and stir to make the yeast dissolve, too. Leave the bowl alone for ten minutes.
After that, if it has produced a lot of foam, and the liquid has expanded, it’s still viable, and it’ll work just fine.
If the mixture only produces a bit of foam or nothing at all, discard the whole thing. It will only have disappointing results.
When you’ve fed the yeast and seen the results, you can go ahead with making your recipe.
Just make sure that you take into account the liquid and sugar which you’ve already added, so subtract it from the amount the recipe needs, or you risk creating an imbalance between the ingredients.
After all, baking is the perfect blend of science and art, and the more exact you can make the ingredients, the better the end result will be.
Recipes That Call For Yeast-Proofing
Some recipes have instructions for proofing the yeast as one of the stages of the recipe, and it’s usually nearly the same as above, using sugar, flour, liquid and yeast.
In the same way, you leave the mix to sit until the yeast has ‘fed’.
Other recipes will tell you to combine everything together without checking the yeast first, making it into a dough, and letting it rise once it’s all combined.
If you’re positive the yeast is fine after it’s been thawed, you can go ahead and skip proofing the yeast, and mix it all together straight away.
It is worth mentioning that recipes which include a lot of dairy or eggs will take longer than those that don’t include these ingredients (see also Can You Freeze Egg Beaters).
If you’ve not tried freezing fresh yeast before, use the instructions above to make sure the yeast is still alive.
While this only takes a few minutes, it will save you wasting the lot of ingredients the recipe calls for, time, and disappointment later.
Ways To Use Thawed Fresh Yeast
Thawed fresh yeast can be used in any recipe that calls for fresh yeast. The possibilities are endless.
Just some of the things you can use thawed fresh yeast in include pizza, naan bread, bread, rolls, burger buns (see also Can You Freeze Hot Dog Buns), cakes, and a multitude of other tasty treats.
It also helps that you can freeze most of the bakes, allowing you to eke out the ingredients further, preventing food waste, saving you some time and money in the long run.
Summary
Freezing fresh yeast only takes a couple of minutes, and it’s worth doing so that you have some on hand for when you need it.
Defrosting the yeast doesn’t take long, and as long as you pack it for the freezer properly, there’s no reason why you shouldn’t use thawed fresh yeast in place of normal fresh yeast.